Premium wood floors have the power to transform interior spaces, infusing buildings with natural beauty and inimitable character that lends warmth and a sense of uniqueness.
But all wood floors are not created equal – and with a wide range of wood species and finishes to choose from, understanding the ways in which the natural characteristics and features of wood floors can be enhanced through finishing is crucial.
In this blog, we’ll take a look at the various ways wood floors can be finished – from distinctive aesthetics like saw marks and distressing through to more subtle finishing techniques including edging, staining and varnishes – and the ways in which different finishes can give flooring, and therefore interiors, a distinctive appearance.
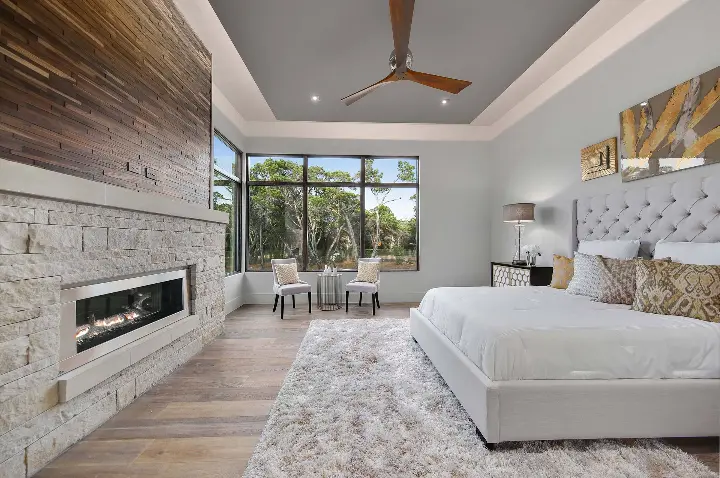
Why do wood floor finishes matter?
Narrative is hugely important in modern architecture; typically an architect or designer is trying to achieve a space that tells a story, or evokes a feeling, or simply pays homage to a particular design style. The finish of a wood floor can either feed into this narrative, or detract from it – so it follows that choosing the right type of finish can potentially make or break a design.
For example, if you’re creating a very contemporary space with classic Scandinavian influences, it would make sense to specify a very pale, select-grade floor with few natural characteristics, as is indicative of this architectural style. But if you were to install this same floor into a heritage home, the effect would likely feel jarring and inauthentic.
Of course, wood flooring finishes can have practical as well as aesthetic implications – flooring textures, for instance, can contribute to how easy they are to maintain and how well they perform in certain zones of a building, while certain finishes can prevent slips and falls as well as damage to the floor itself. Let’s take a look at some of the finishing techniques we regularly use here at WoodCo.
Wood floor finishing techniques
Wood floors can be finished in the factory, during the manufacturing process, or on site after being installed. Let’s take a look at some of the techniques used to give a floor its ultimate finish.
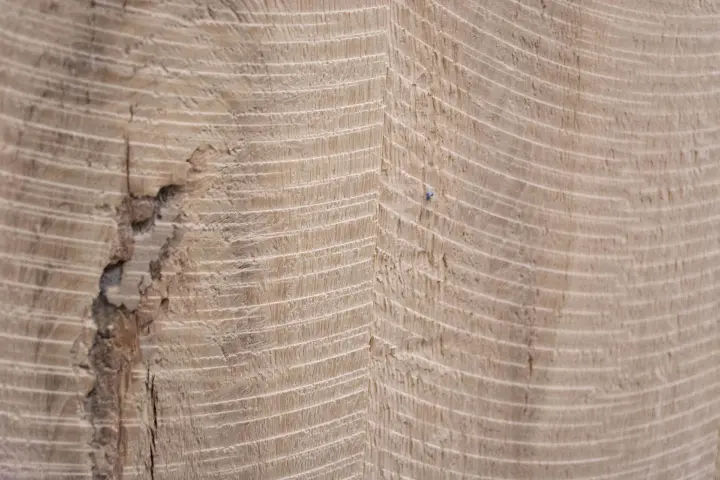
Saw marks
As their name suggests, saw marks are left behind by the action of a mechanical saw as it cuts through the wood. They are typically linear in shape if created using a bandsaw, and curved in shape if created using a circular saw, and can be very subtle or quite pronounced.
Saw-marked floors are often selected as an alternative to reclaimed floors because circular saws in particular were commonly used to cut wood in the past, so genuine antique wood often has circular saw marks. Saw marked floors have a lot of texture and character that can be further enhanced by the application of stains and waxes to the surface. They’re ideal for loft-style or industrial interiors where their rustic appeal can prevent the design from feeling too harsh or austere.
The texture of a saw-marked floor also makes it less prone to being slippery, but can make ongoing maintenance more challenging since the floor can’t be sanded down without removing the saw-marked texture.
Skip planing
Skip planing is a millwork process often used for reclaimed boards to highlight even more of their built-in character. The boards are given a light pass through a planing machine that ‘skips’ some of the surface, so the board is taken back to a smooth finish in places while other areas are left with rich texture and patina. It’s the perfect choice when you want to achieve some balance between old and new.
Wire brushing
Wire brushing is a mechanical process that opens up the wood grain by removing the very softest parts of the wood to give it a softly textured appearance that emphasises the natural light and shade of the surface. It also adds texture in the form of bristle marks that can make a floor appear more rustic, and allow products like oils to penetrate more thoroughly. The deeper you brush the surface of the wood, the more pronounced the effect will be - it’s a great option for achieving that worn, rustic look without the expense of using reclaimed wood. Wire brushing also allows you to layer colors within the same plank for a more dimensional look as shown here in our Macchiato plank.
Hand scraping
Before the advent of industrial milling machinery, wooden floorboards were manufactured by hand using simple tools like planes and drawknives to carefully pare down and refine the surface of the wood. These gave rise to distinctive markings and profiles characteristic of hand scraped wood. Today, our hand scraped boards are still produced by hand either in the WoodCo factory, or on-site by the flooring contractor. Hand scraped floorboards typically have a softly undulating surface that imbues the floor with unique, handcrafted character.
Distressing
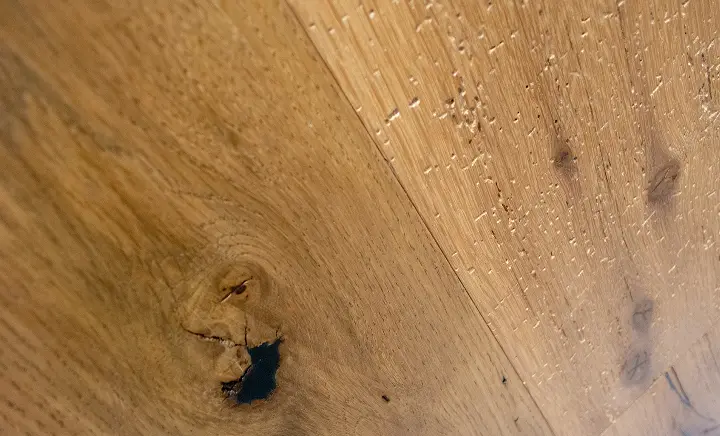
Perfect, flawless wood floors are not always very practical for high traffic areas of the home where kids’ toys, footwear, pets and the simple rhythm of daily life can quickly cause wear and tear. Distressed wood floors are very popular for these areas of the home because they have those dings and imperfections already built in, making it easy to disguise a few more!
Distressed floorboards are produced by tumbling the boards in a huge drum along with objects like pebbles or nuts and bolts to create random marks on the surface. This surface texture can be further enhanced with waxes and stains to produce a unique look.
Shou Sugi Ban
Also known as Yakisugi, this ancient Japanese technique involves charring the surface of oil-rich woods like cedar to make them more resistant to water, fire, sunlight and general wear. Charring the wood can give intense color and texture to the surface, typically with a blackened, moody appearance that lends itself well to contemporary properties.
Wood floor edge profiles
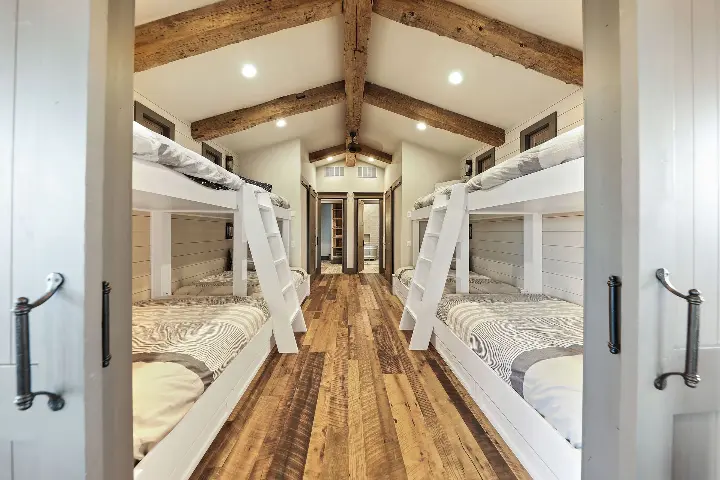
Another key aspect of wood floor finishing is edge profiling. Wood floors can have a square, beveled, micro-beveled or pillowed edge, and each gives the floor a slightly different character:
Square edge
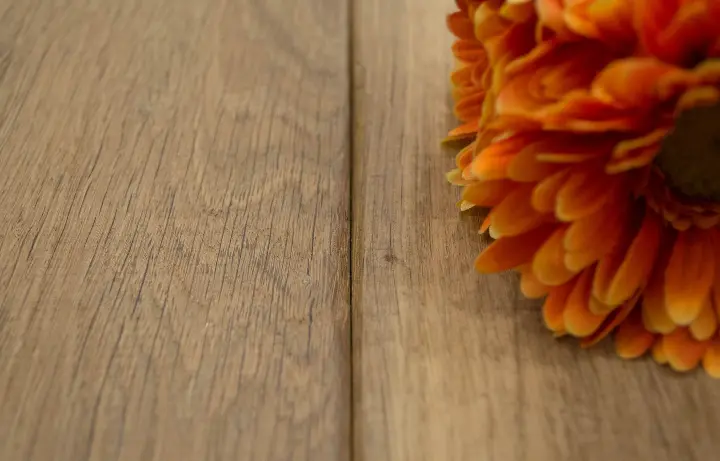
Square edged boards are typically used for on-site finishing where the floor is sanded down and finished after installation. This is because unless the floor slab is absolutely flat, square edged boards will not sit perfectly flush right across the entire floor surface – some edges will inevitably be slightly raised which can cause a trip hazard and lead to inevitable damage of the floor itself. This option is typically best for modern interiors where you want to achieve a very uniform, seamless look.
Beveled/micro-beveled
Beveled floors are produced in the factory and are typically prefinished, so they don’t need to be sanded or oiled following installation. The beveled edge on each board means that even if the floor slab is not perfectly level, the surface of the finished floor will be smooth and even. Micro-bevels are designed to deliver this while achieving a look very similar to a square-edged floor that has been sanded in situ.
Prefinished floors are desirable because they allow for a high degree of surface finishing without creating a lot of dust, mess and odors inside the property itself.
Pillowed edge
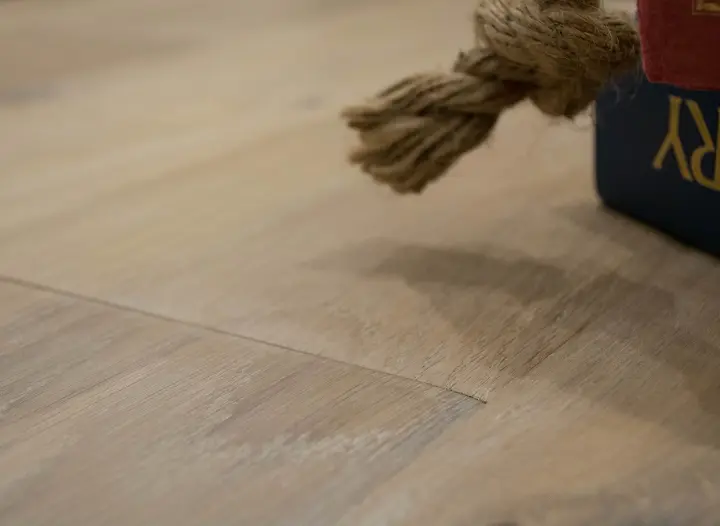
In a pillowed edge floor, the corners and ends of each board are carefully rounded down to mimic the effect of antique floorboards that have been worn down naturally by foot traffic over many years. The effect is one of authentic softness that looks wonderful in country-style and rustic interiors, or in historic buildings.
Oil or urethane? Selecting wood floor treatments
The final step in finishing a wood floor is the application of a finishing treatment. The purpose is twofold; to influence the final color of the wood, and to protect it from damage or stains. Wood flooring can be finished with a wide variety of different stains, paints, oils, waxes and varnishes. Some provide a long-term finish that is permanent or semi-permanent. Others need to be regularly re-applied throughout the life of the floor.
For our prefinished floors, we typically use one of two surface treatments – an oil, or a urethane-based finish. Oil penetrates the wood and effectively becomes part of it, while urethane sits on the surface, forming a barrier to the elements. Each has different properties and benefits for the finished floor. Let’s take a look at the differences between oil vs varnish for wood floors.
Oil
An oil works to protect the wood by fortifying and sealing the wood fibers, effectively filling up the natural pores in the wood and making it resistant to moisture as well as wear and tear. Oil finishes are regarded as more difficult to maintain because you have to be careful about what cleaning products you apply to the floor, and you have to reapply the oil every few years or run the risk of stains penetrating through to the wood, which will then need to be sanded down and re-oiled.
An oiled floor may not provide complete protection against heavy stains – for example, if you spill paint or dye on the floor. But a key advantage is that it’s much easier to sand and re-oil a segment of the floor without the repair being very noticeable, making spot repairs more practical.
Urethane finish
If oil acts like a skin, urethane gives your wood floor a raincoat. Urethanes work by forming a barrier between the wood and any substance that might damage it. They offer excellent protection, but over time their surface will become scuffed and scratched, obscuring the appearance of the wood underneath. Therefore, urethanes need to be periodically sanded back and reapplied. It’s almost impossible to do spot repairs on urethane finishes without the repair being highly visible.
Whichever type of finish you choose, it’s important to preserve the natural beauty of your new wood floor by protecting it as much as possible from scratches and scrapes – putting felt pads under the feet of heavy furniture, adding area rugs in high-traffic zones and taking care not to damage it when cleaning or vacuuming.
Site finished or factory finished?
As previously mentioned, some wood floors are finished on site while others are finished in the factory. There are many factors that influence this decision on a project, ranging from the desired look of the finished floor through to cost and project timescales.
Site finished
A site finished floor is typically installed and finished by a contractor on site. Once the floorboards are laid, they will be sanded back until the surface is totally smooth, then finished, stained or oiled in situ. This has implications for the jobsite because of dust, solvent fumes and drying times. Additionally, the completed finish will only ever be as good as the contractor hired, and the outcomes can vary from job to job - you should always use an NWFA approved contractor to ensure best results. The advantage of site finishing is that the flooring finish can be tweaked slightly on site, for instance if you feel it needs to be lighter or darker to harmonise better with your lighting, or other elements in the space.
Factory finished
Factory finished floors are shipped from the factory in their finished state, ready for immediate installation on top of a concrete slab or wooden subfloor. Since the finish is already complete, the outcome on a factory finished floor is much more predictable and consistent - although wood is a natural product and no two floors will ever be identical, you have a much better idea of how the floor will look when it’s fitted. There’s no exclusion time while you wait for varnish or oil to cure, and no issues with dust or solvent fumes, and the floor is ready to walk on straight away. Factory finished is a great option if you’re short on time or skilled contractors.
Custom finished wood floors
While this blog gives an overview of the most common wood finishing techniques, at WoodCo we can and do offer custom finishing services, working closely with architects and designers to help them achieve their specific vision for any project. Contact our expert team today to discuss your next flooring project.